- square on PCB is for cathode which is short leg
- circle on PCB is for anode which is long leg


A PiLocoBuffer is a bridging device between the WIFI throttle wiFRED and a LocoNet capable Command Station. To achieve this a decent Raspberry Pi is used and equipped with an add-on board (so called HAT (Hardware Attached on Top)).
On the hardware side the Raspberry Pi connects via its Ethernet port a WIFI Access Point and via its attached PiLocoBuffer-HAT the LocoNet. A DCC Command Station is needed to drive locos. A connected LCD displays gives status information about sent and recieved LocoNet pakets.
On the software side the Raspbery Pi runs JMRI (especially the WiThrottle server part is needed) to allow any wiFRED to connect. The adapted software LBServer the connects JMRI to the LocoNet interface.
The PiLocoBuffer is a development by FREMO members.
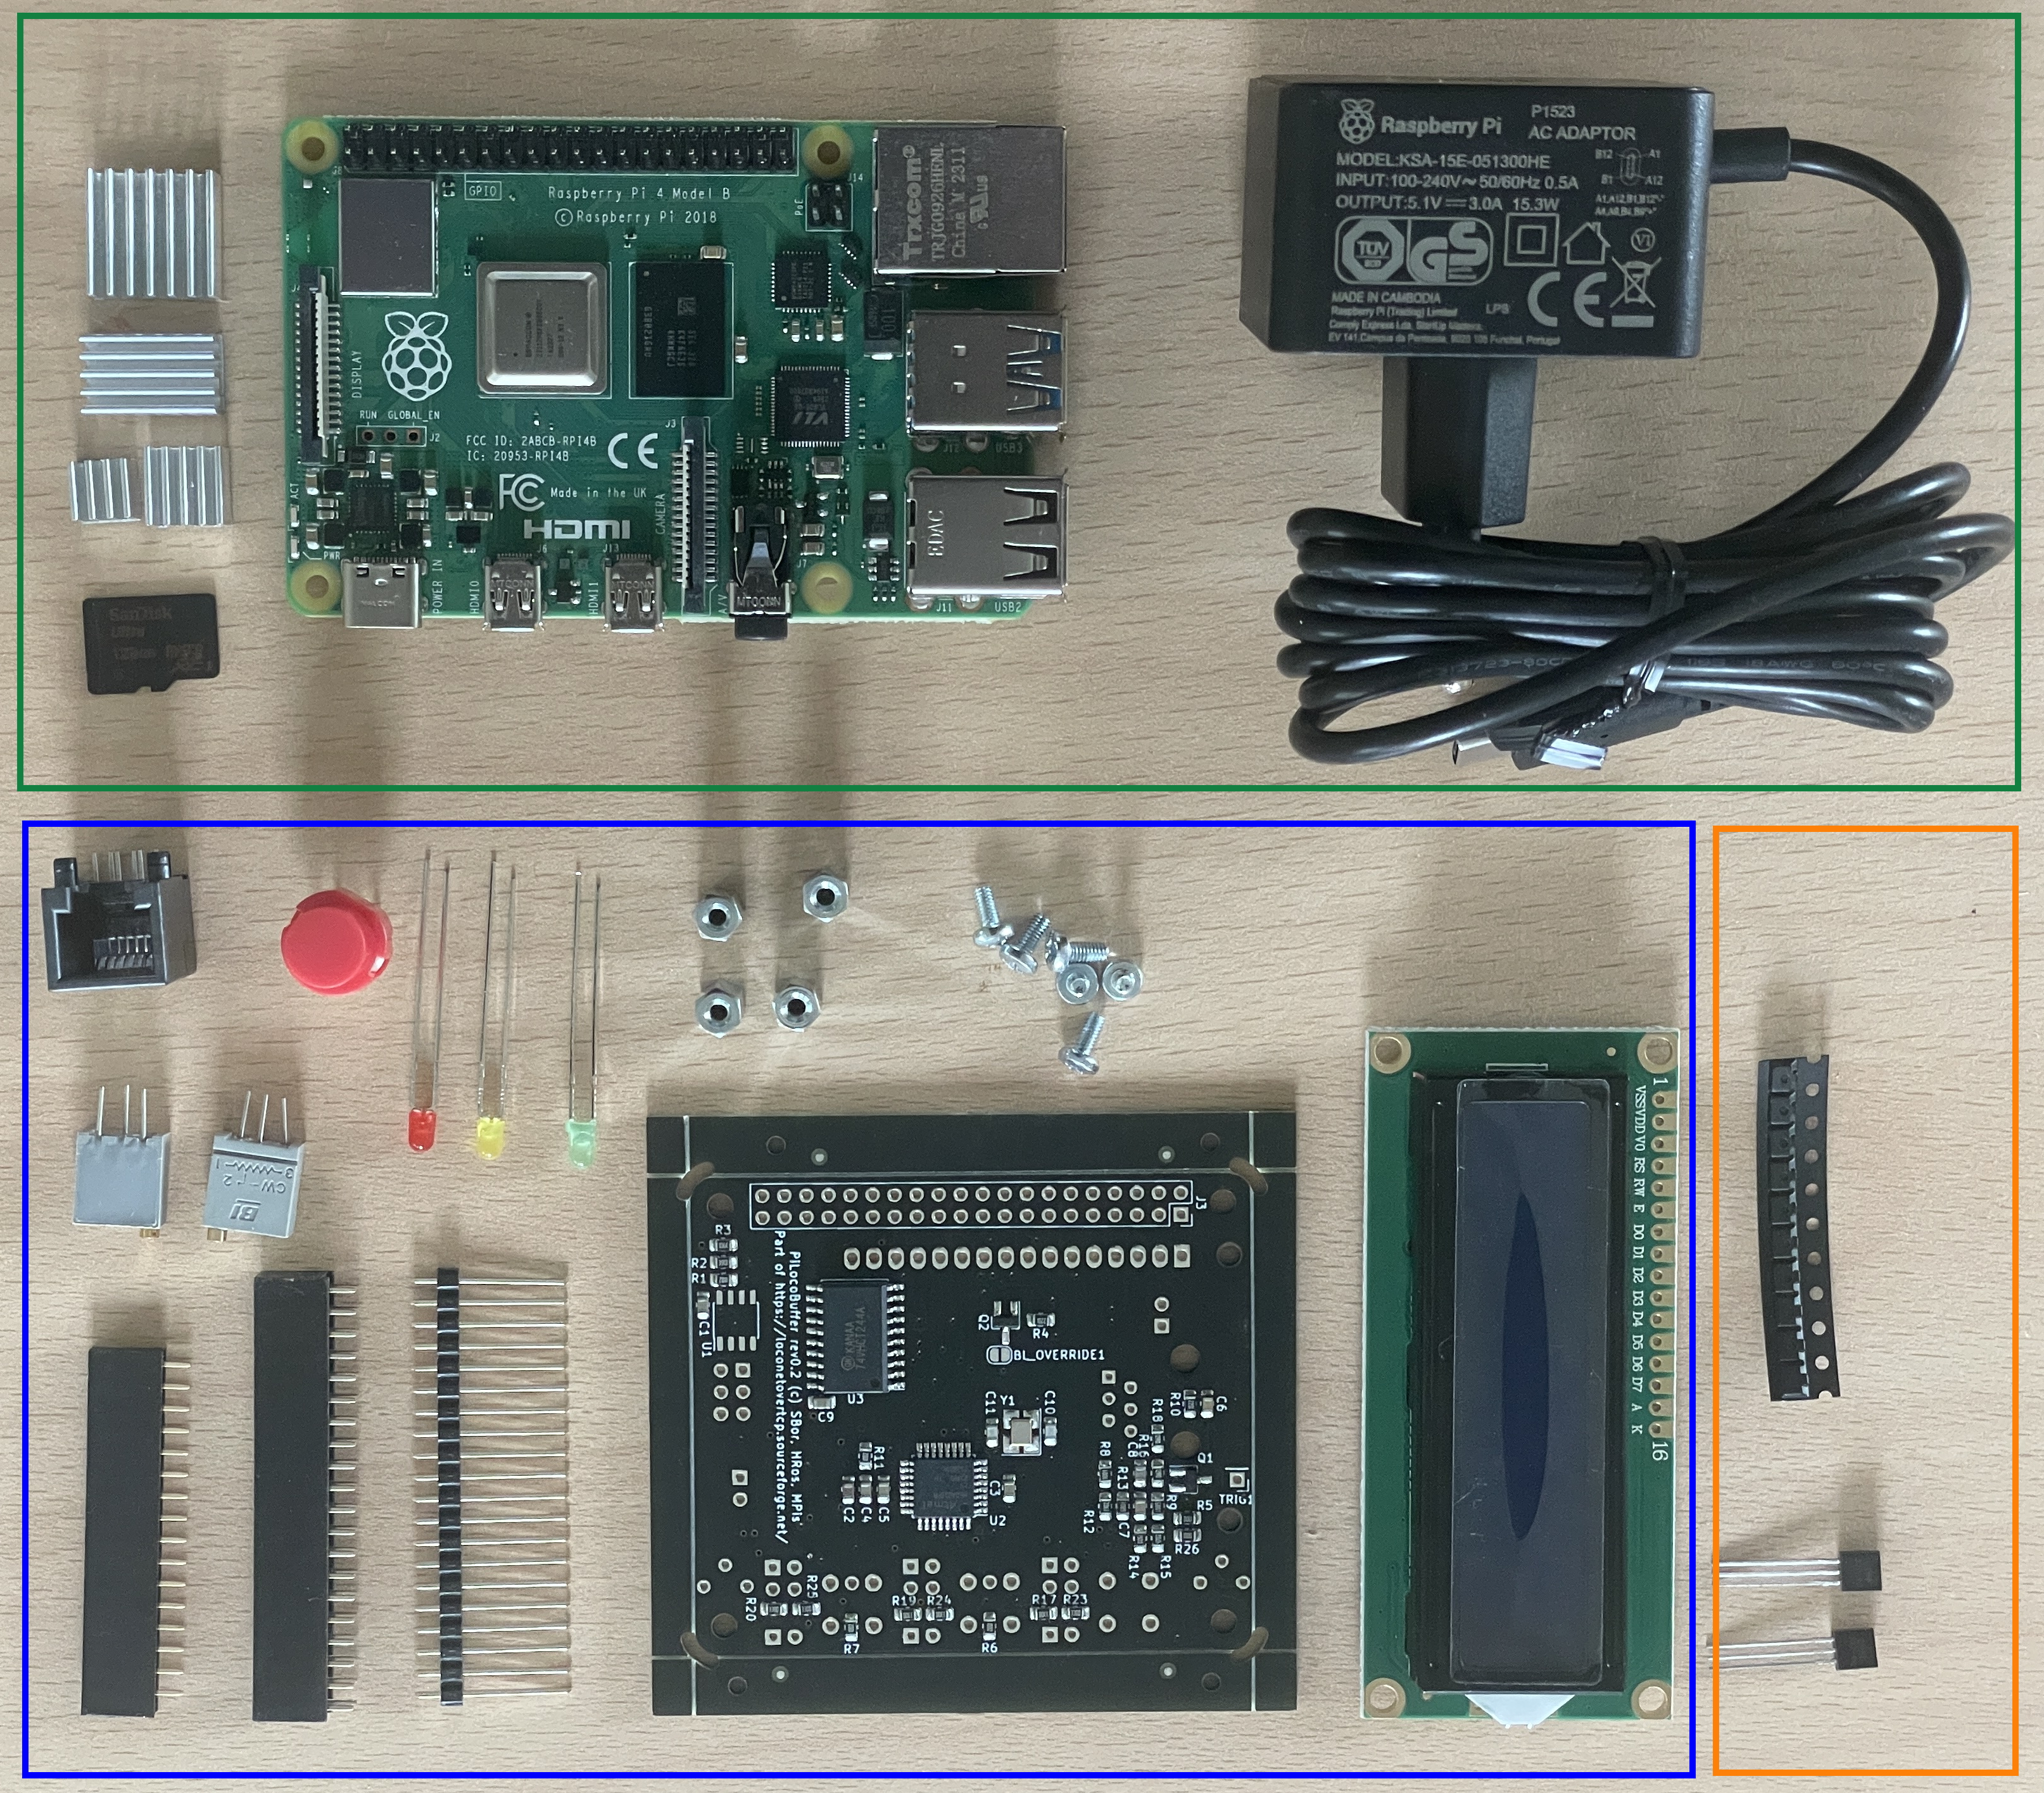
The parts required are:
As mentioned above the version 1 of the PiLocoBuffer PCB is erraneous and two transistors need to be corrected. Both transistors can be seen here:
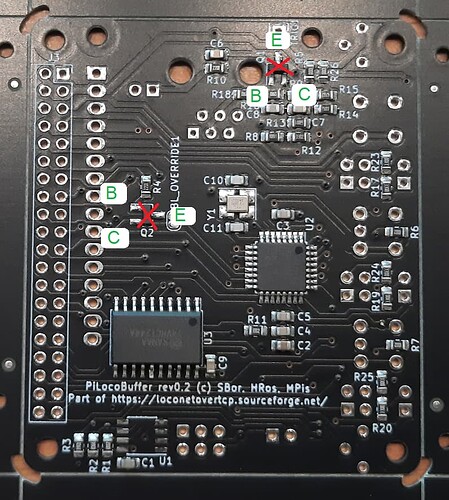
Some hints, taken from SMD Components Desoldering tutorial
Desoldering involves using a soldering iron, desoldering braid, or suction tool to remove the solder holding the SMD component in place
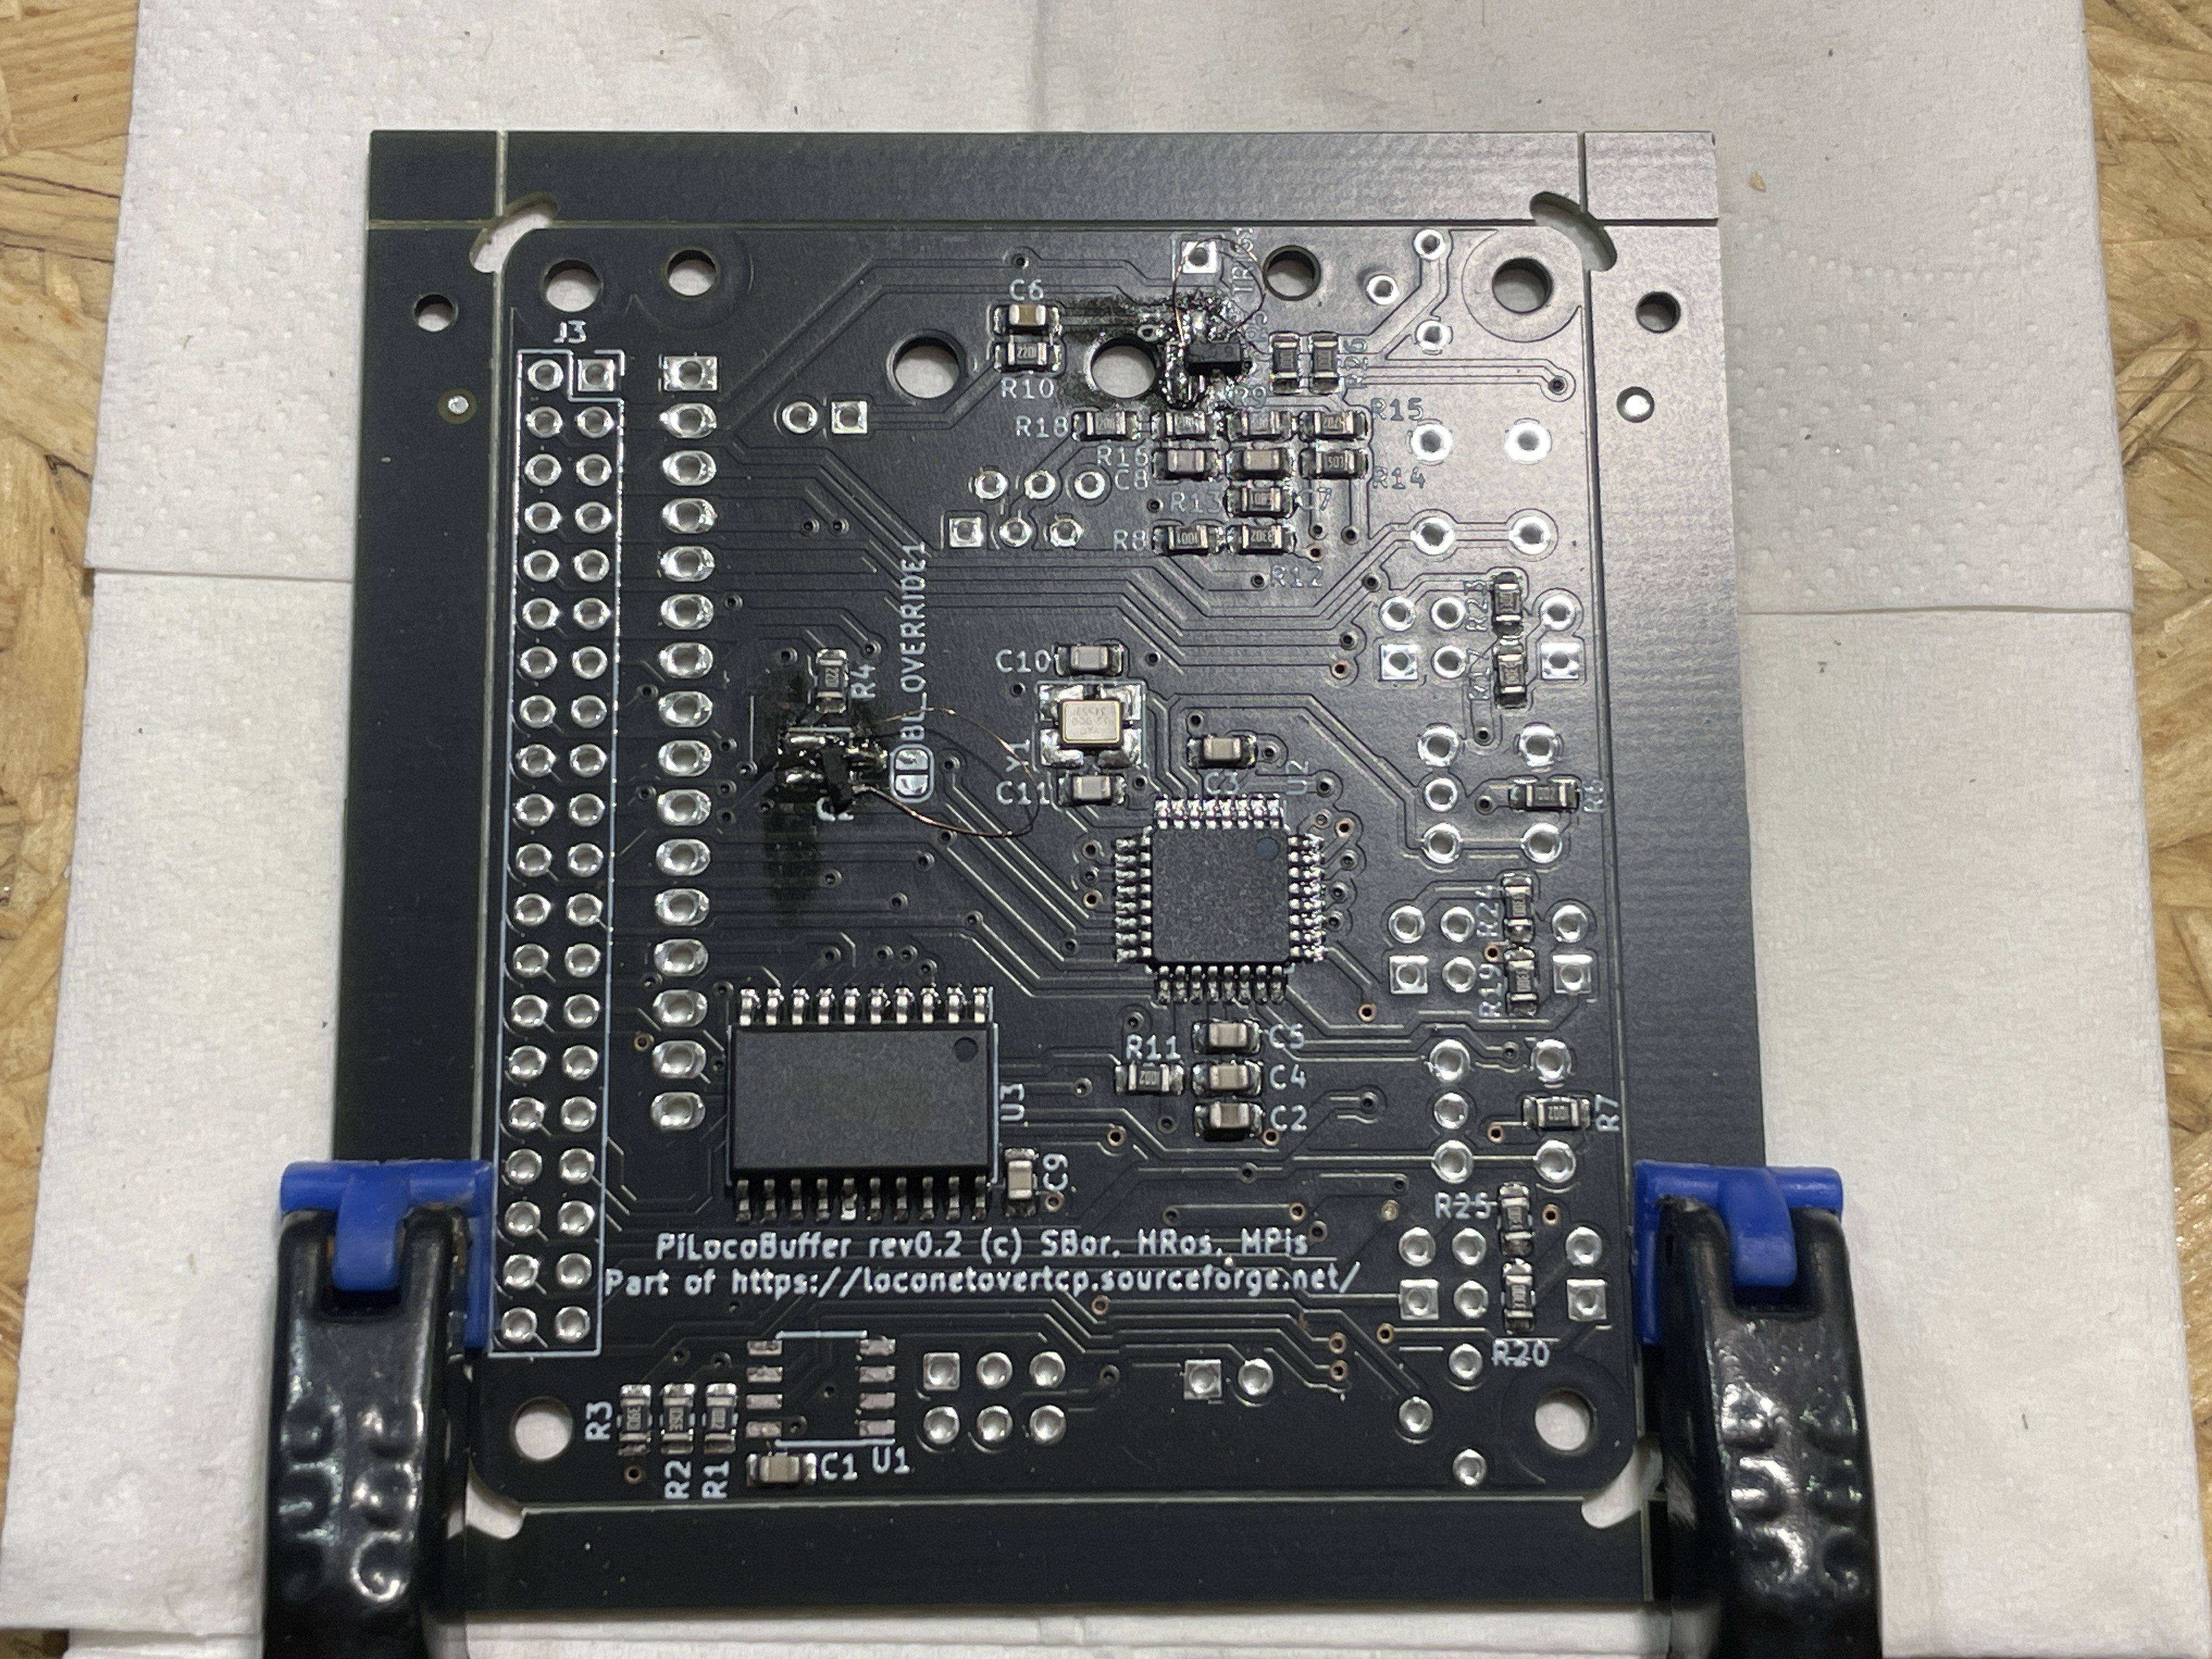
Then solder new transistors in place. If SMD transistor BC 817–40 is used, the figure from R??diger B??cker gives a explanation how to solder the SMD transistors to their new position and orientation.

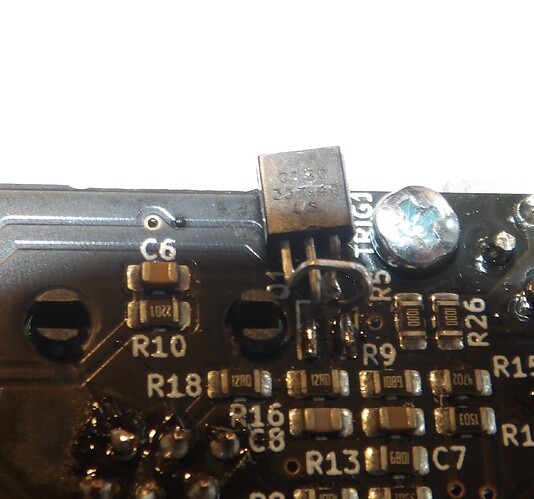
If a through hole transistor is used the following picture gives a glance hwo to do this.
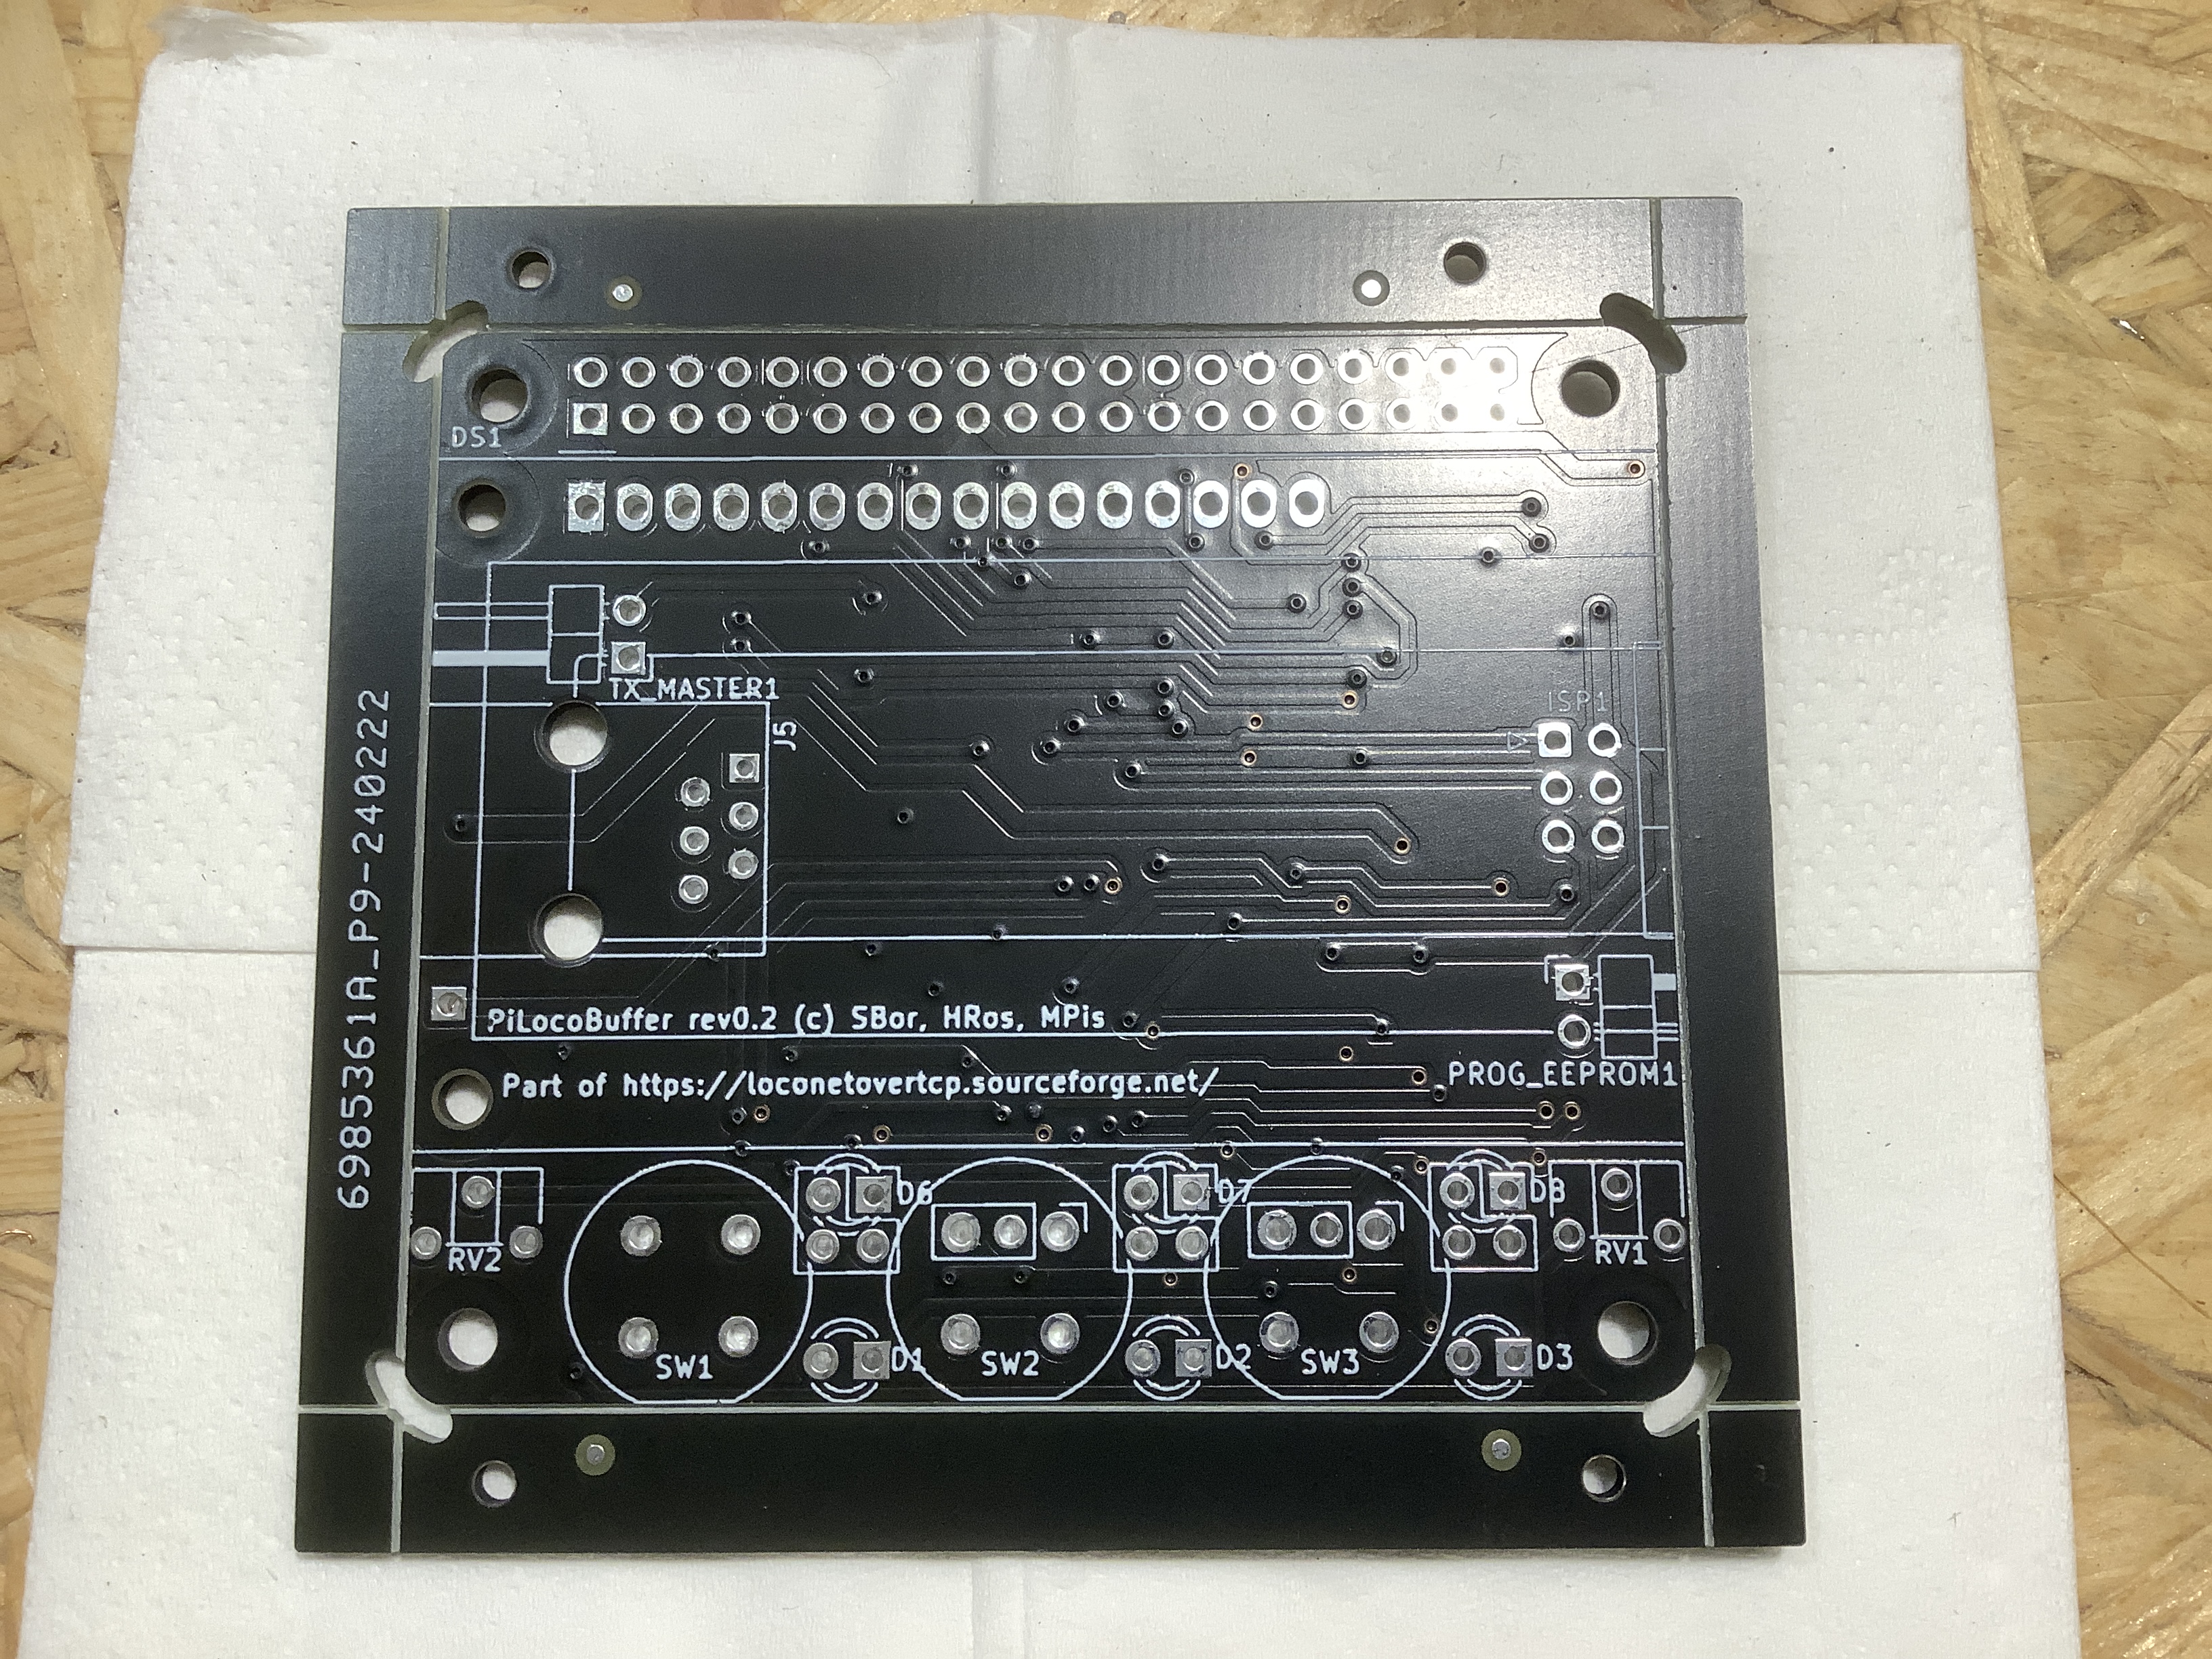
Solder the parts with smallest height first


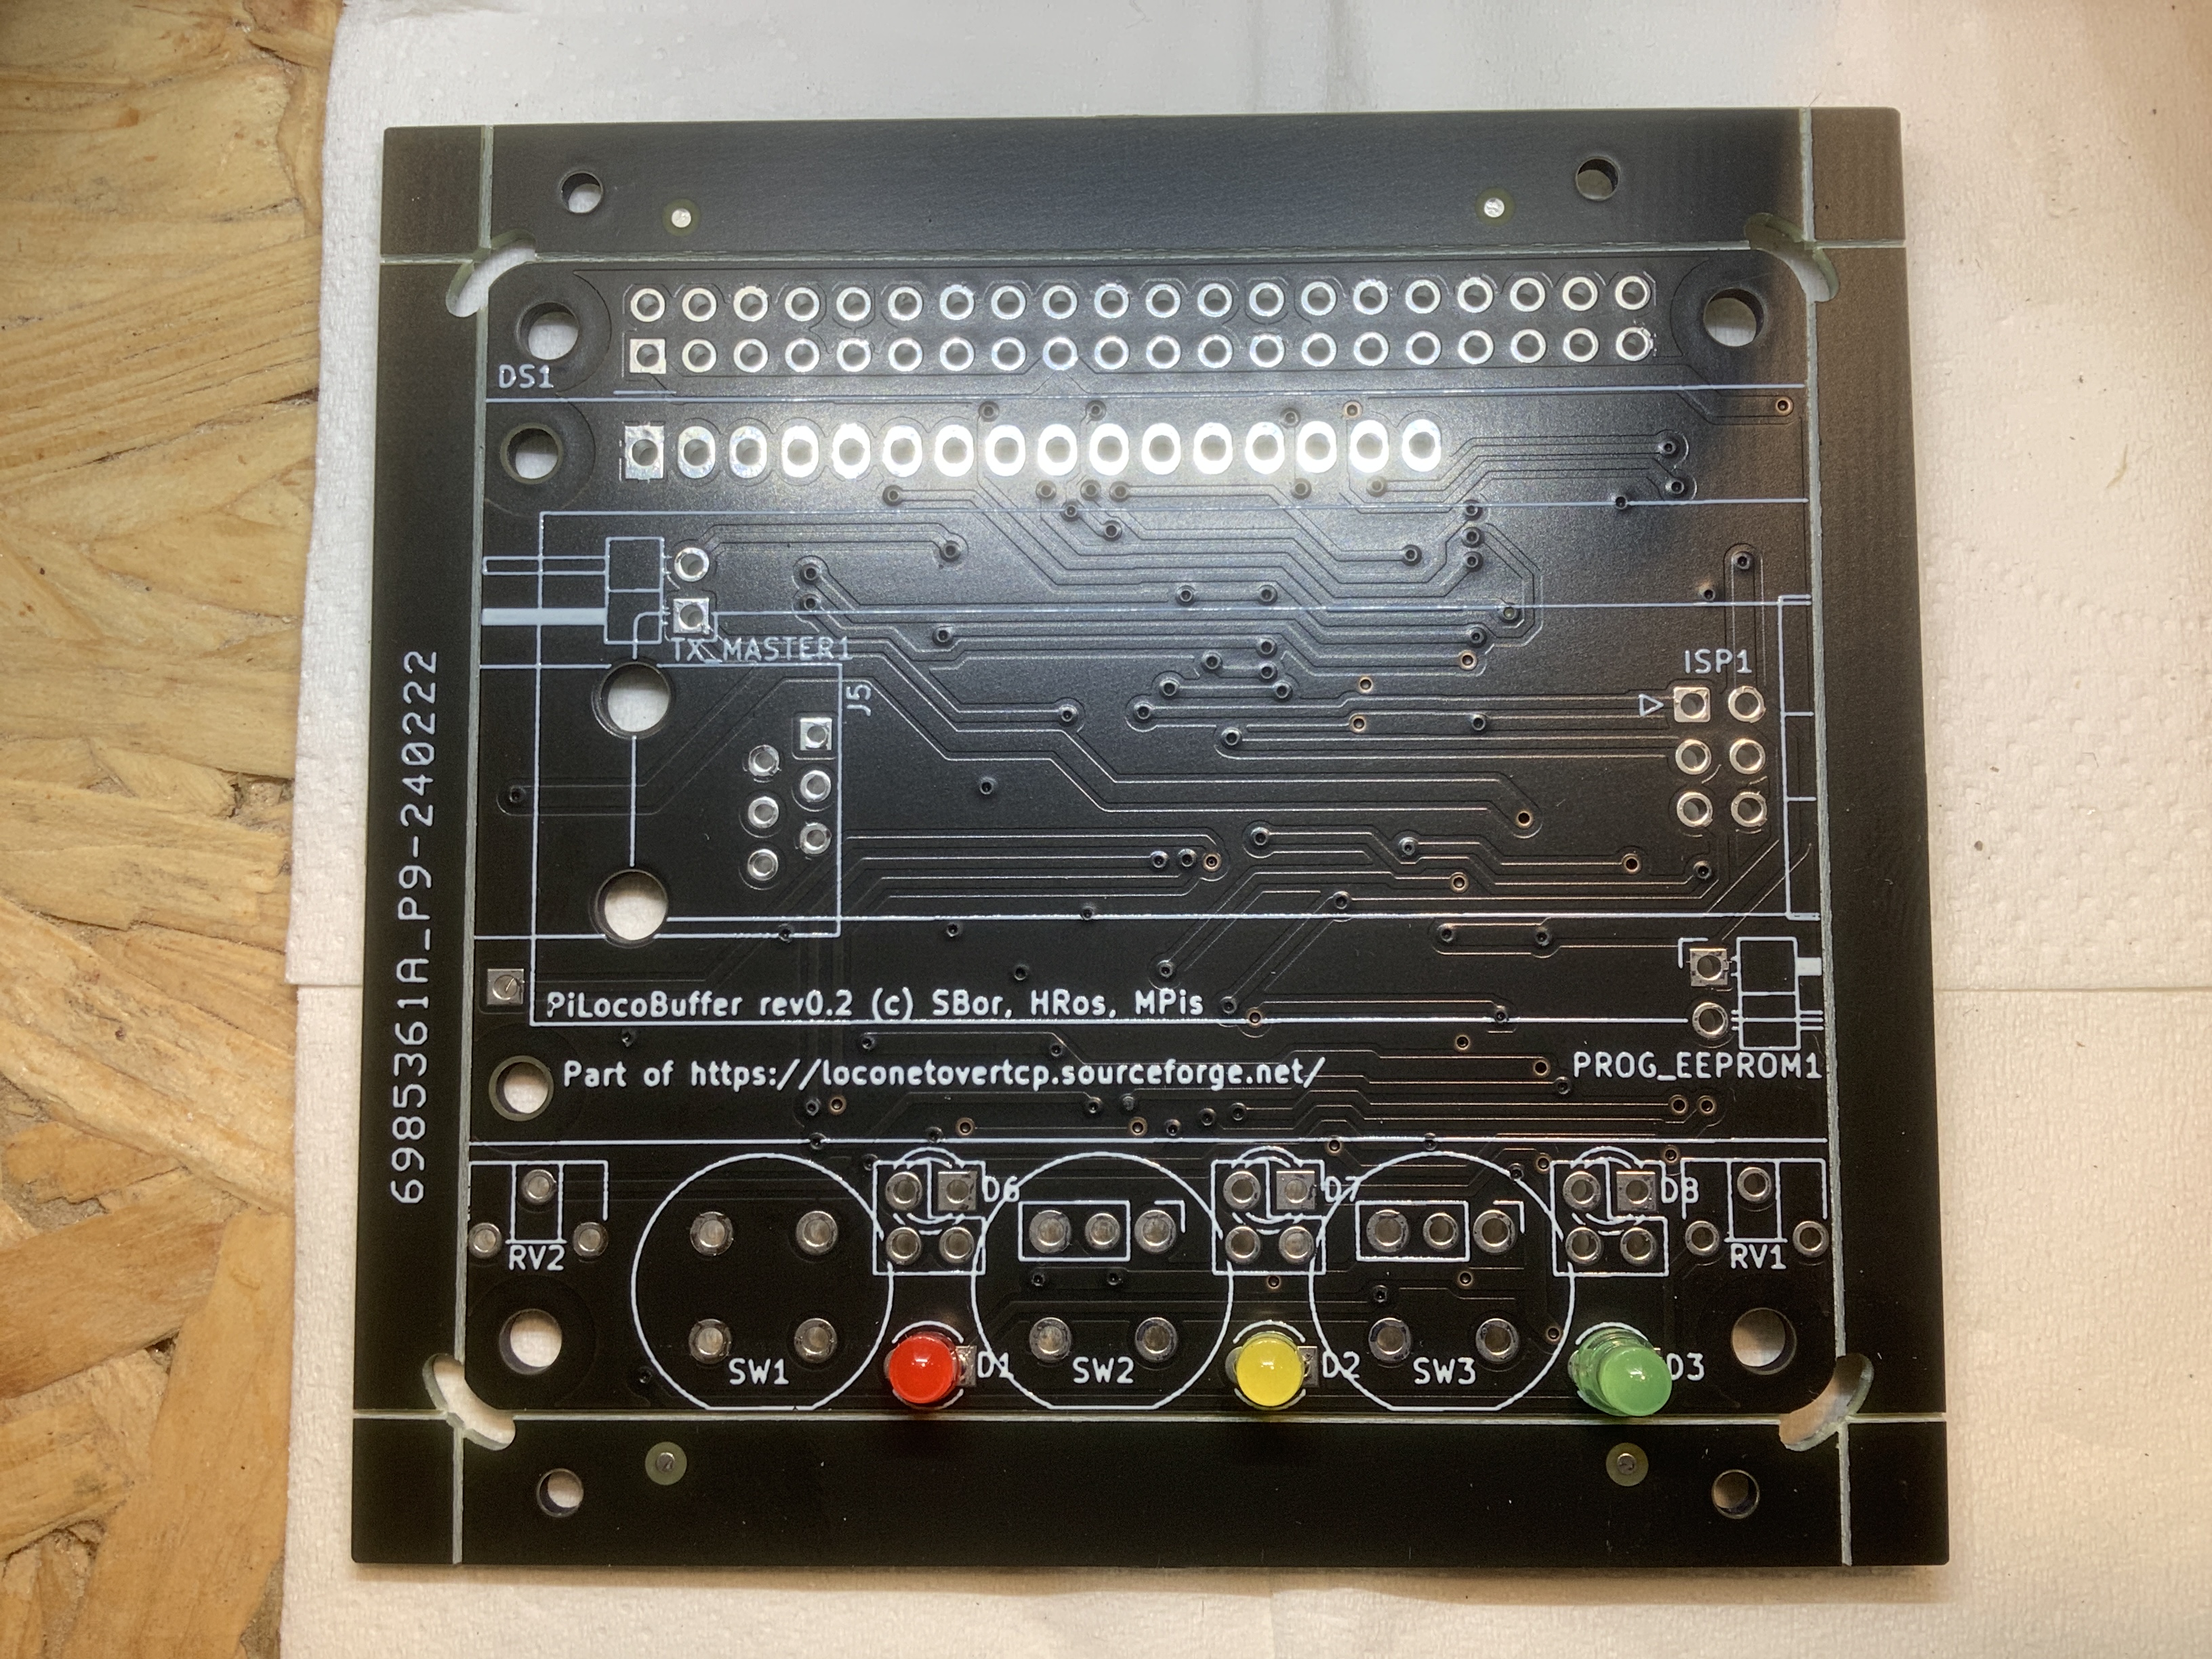
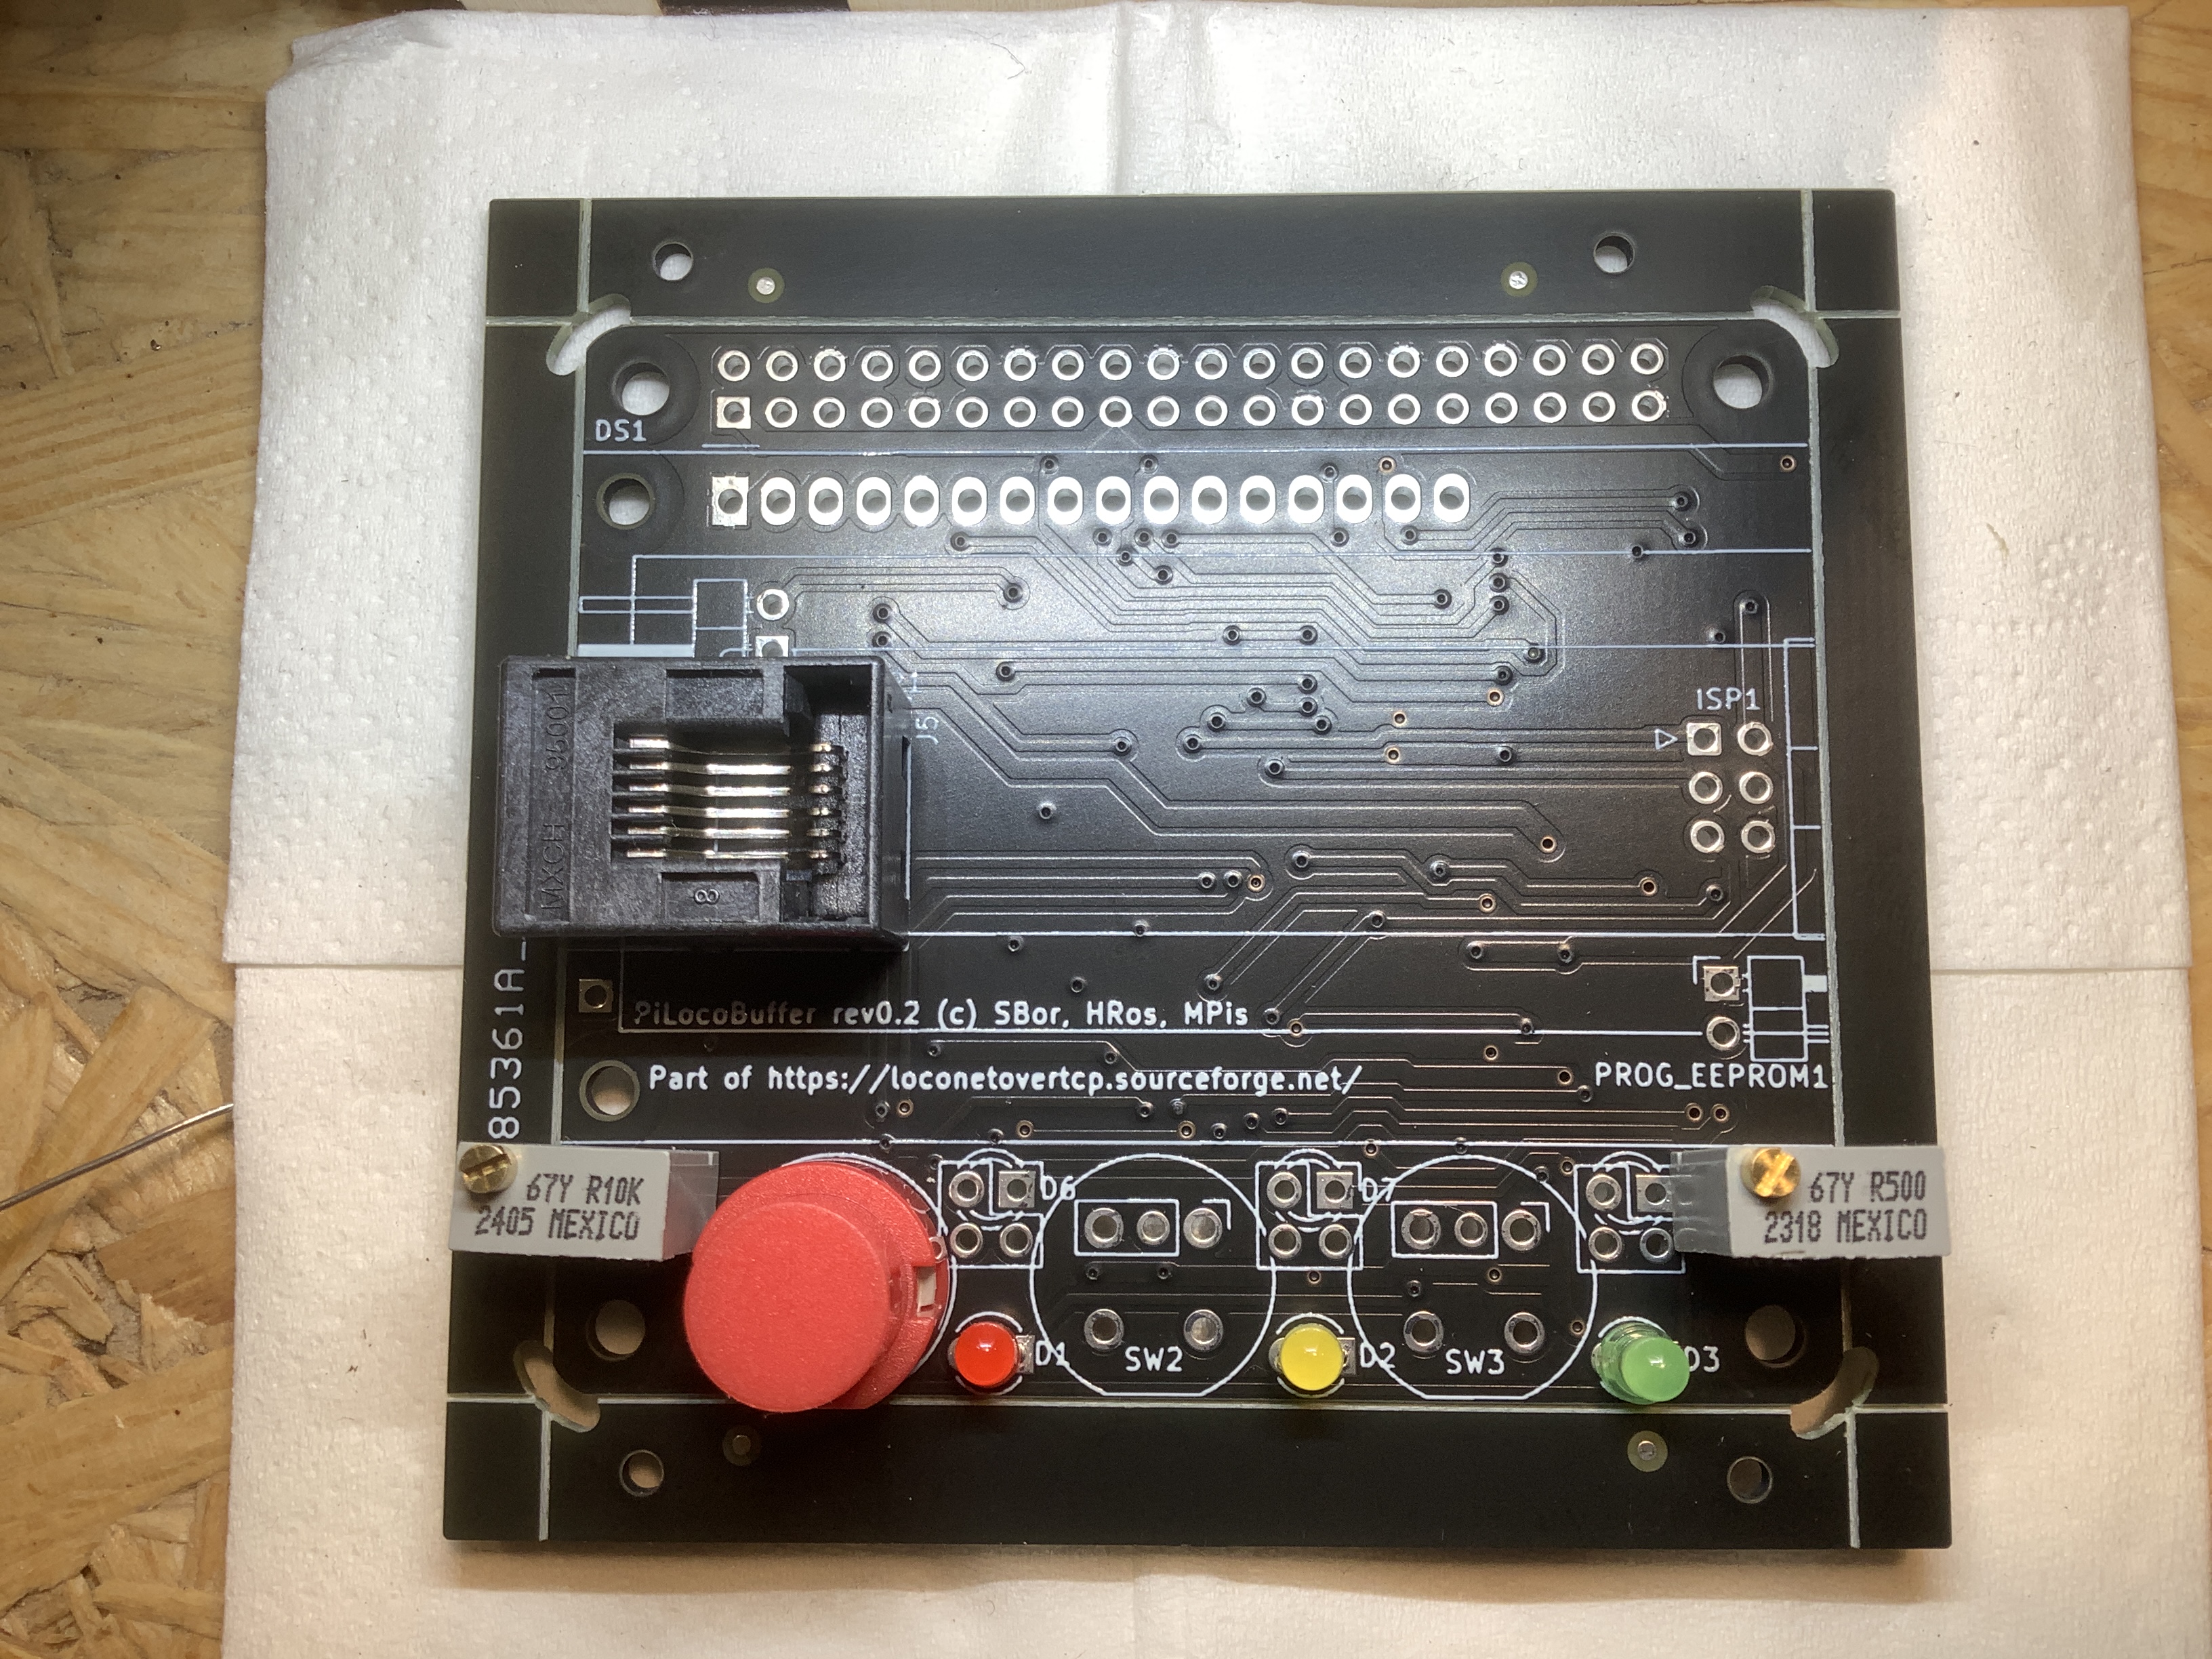
Your PCB should now look like this:
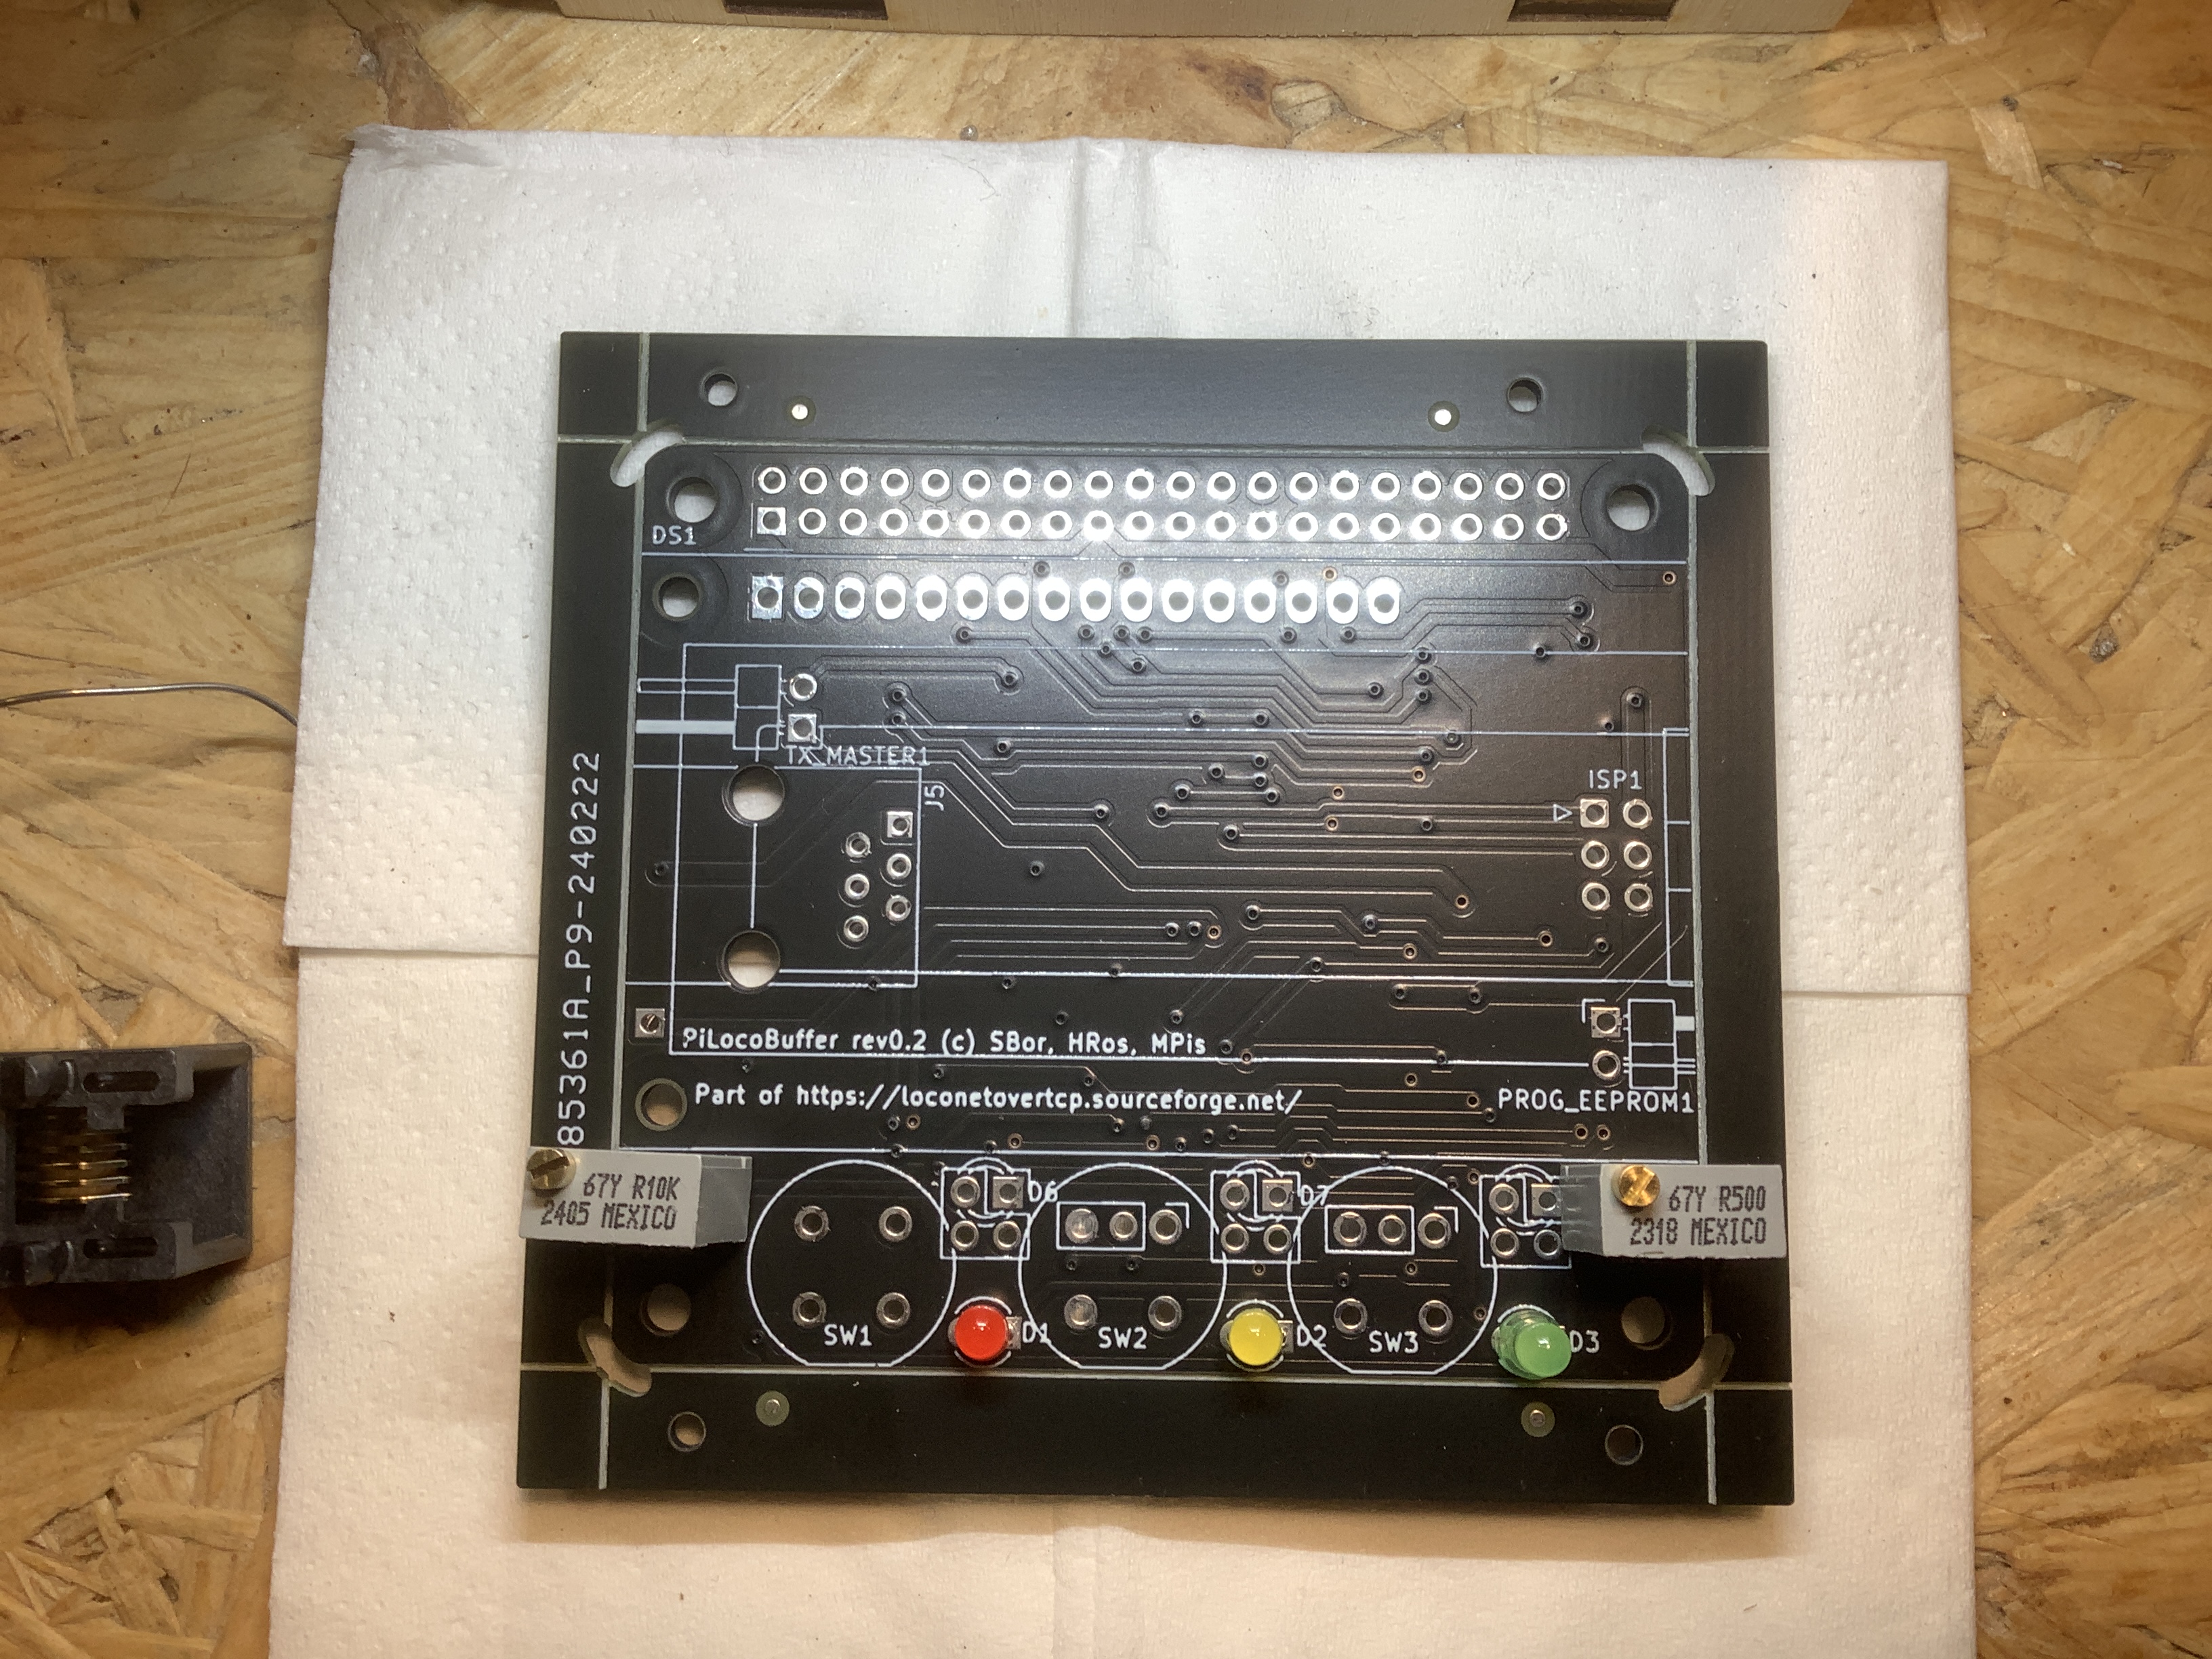
Then proceed with the two potentiometers:
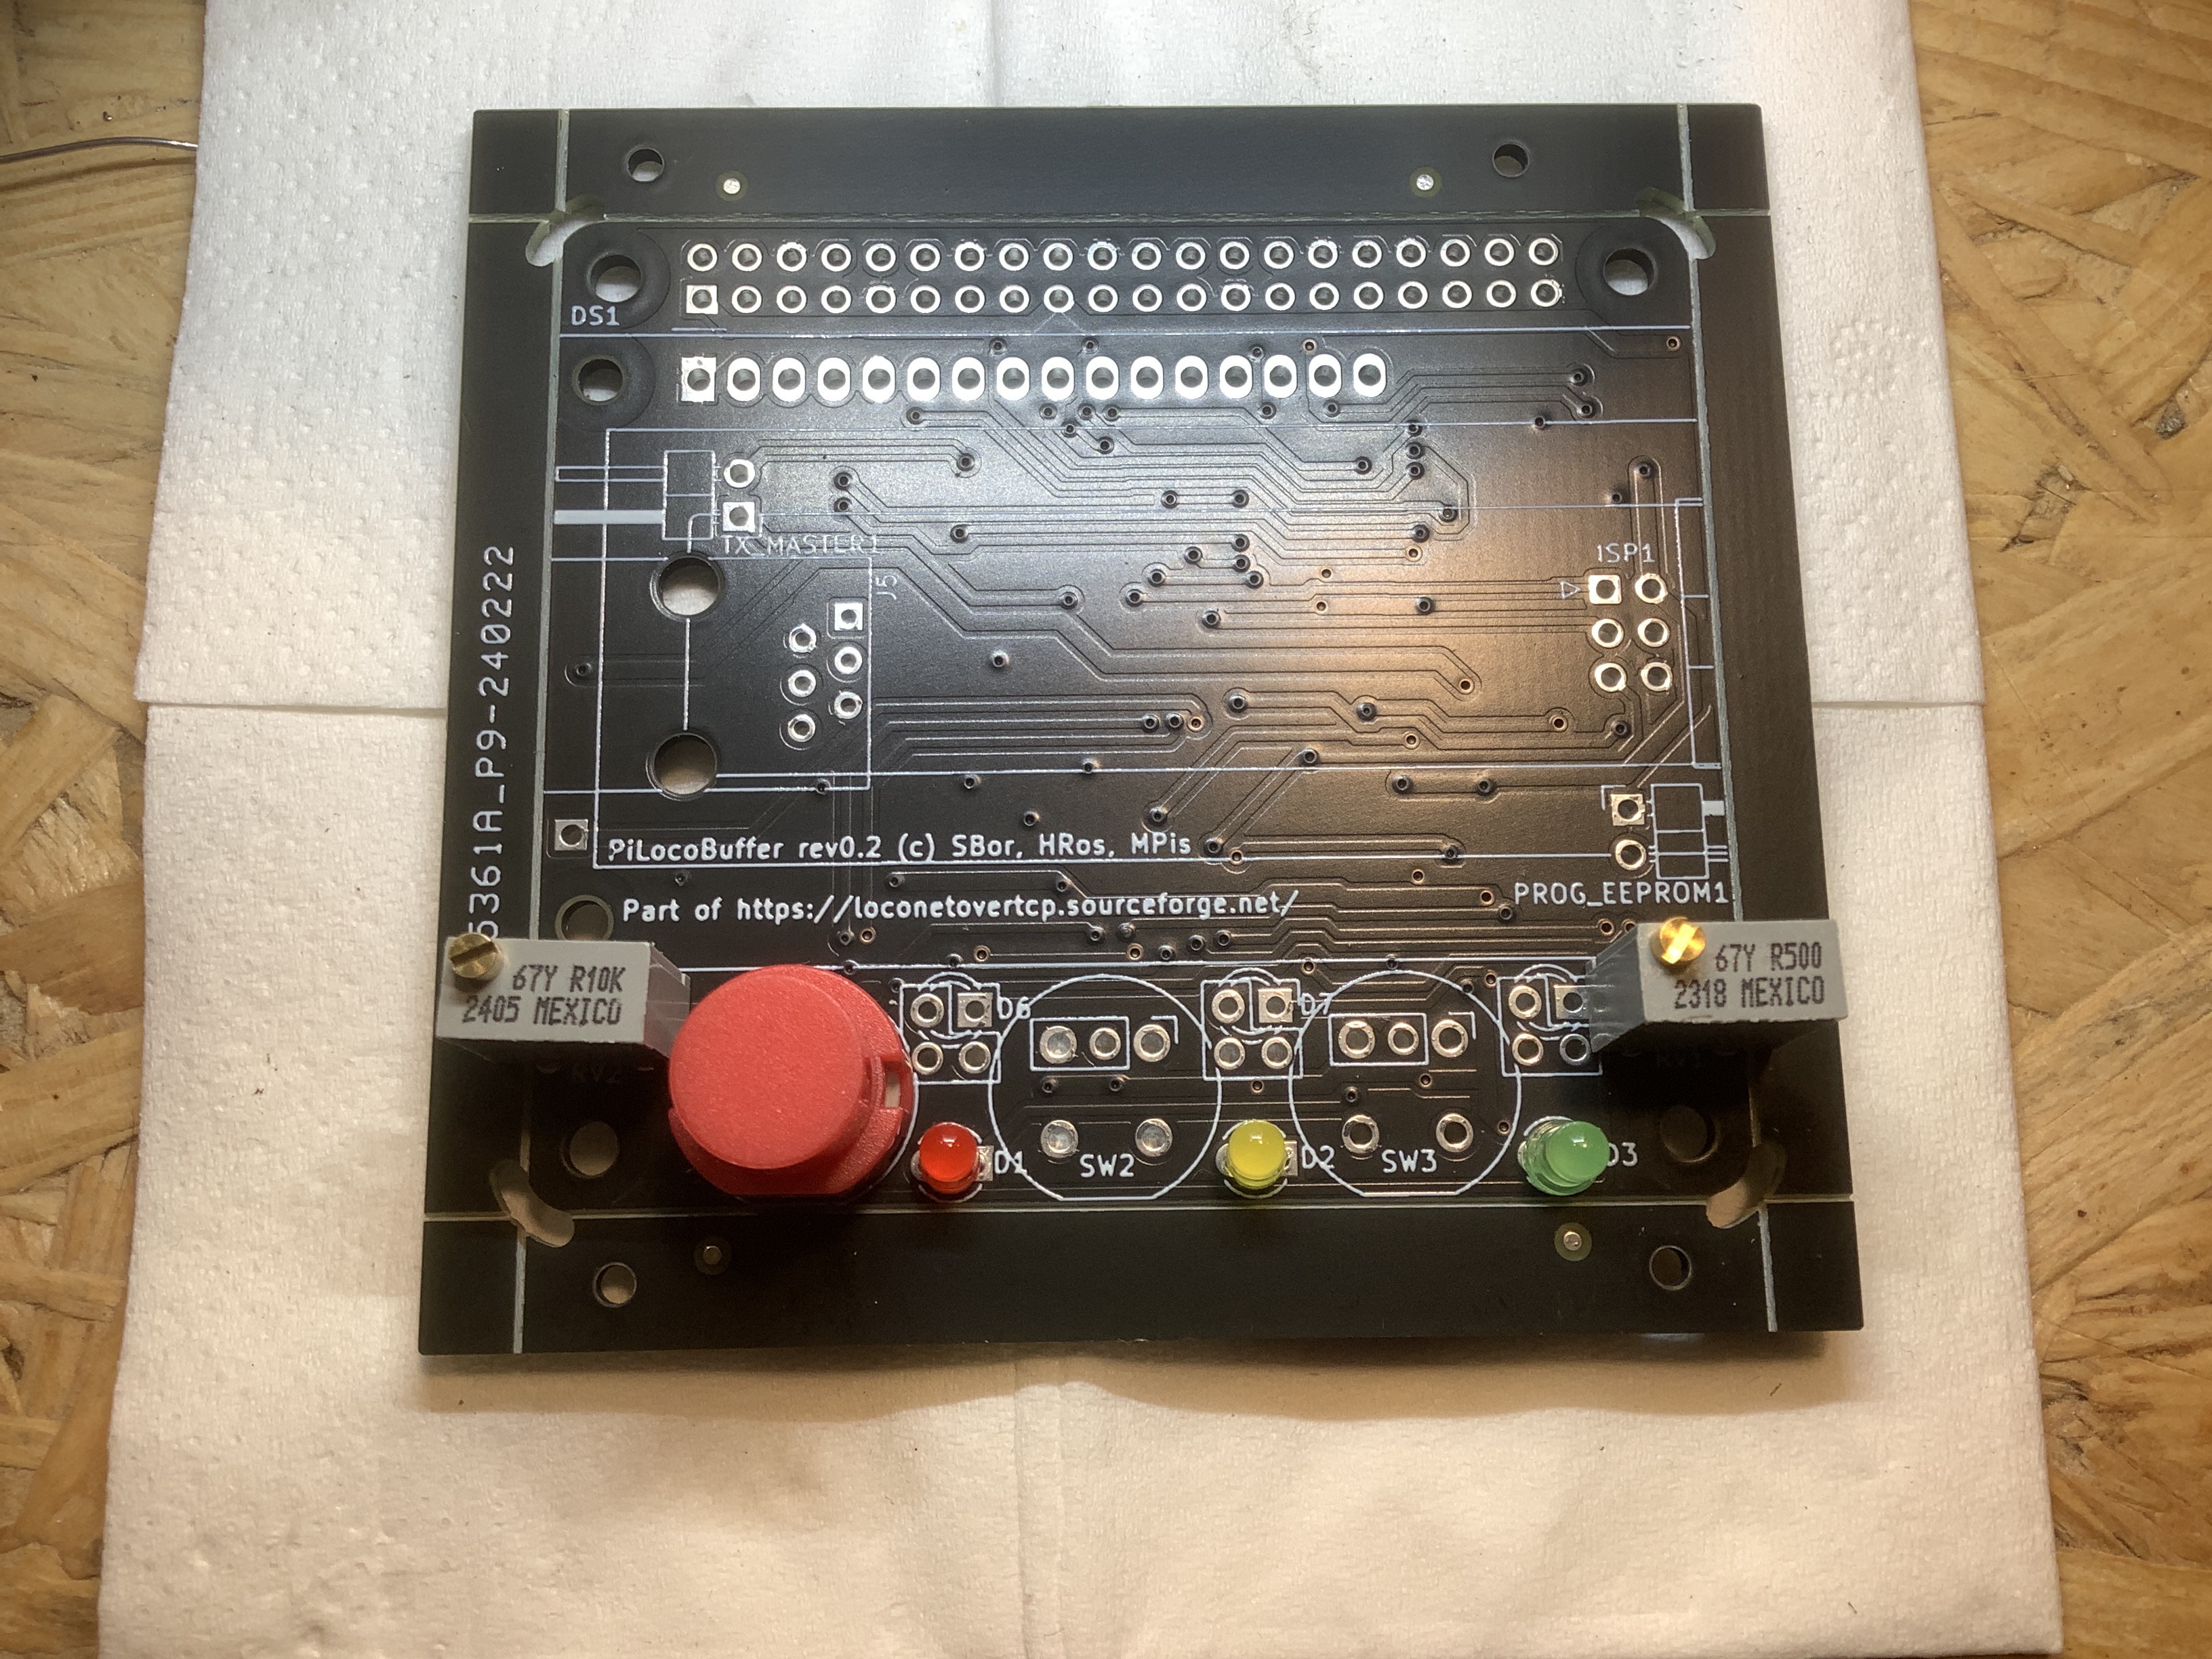
Now the switch SW1. The switch has one fabgeflachtlattened side, the PCB shows these flattened side also. The flattene side is at the edge of the PCB.
Now solder the LocoNet socket (DS1) to PCB.
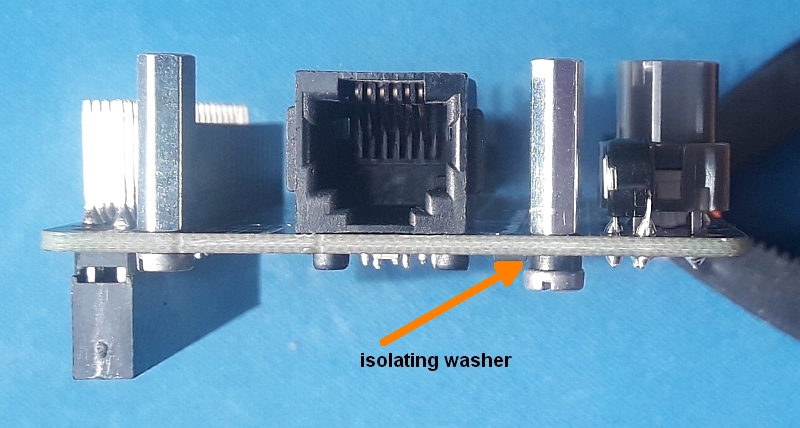
Mount two of the standoffs using two M2.5 x 8mm Screws. Add a isolating washer to one of them:
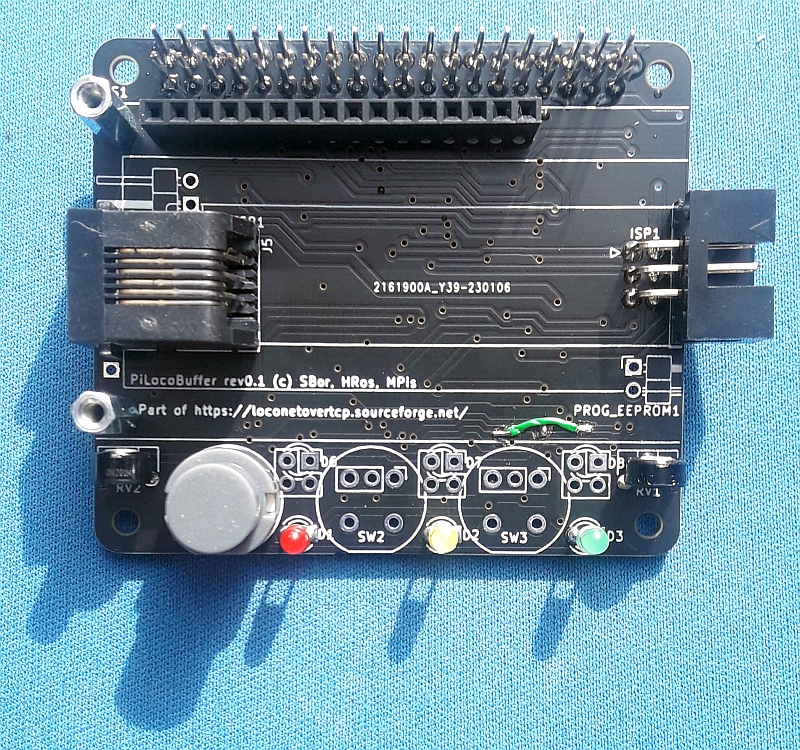
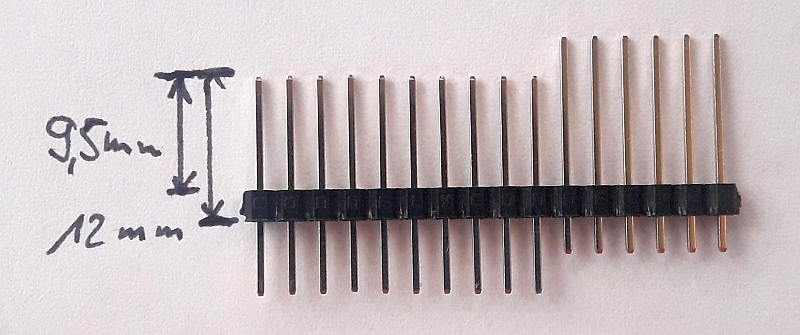
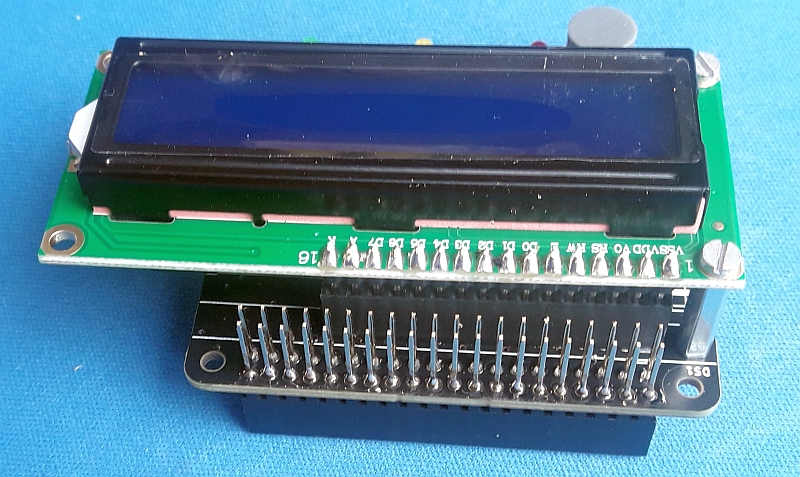
Prepare the pin header for the LCD and solder:
Download “Raspberry Pi OS Lite (64-bit)” (Version February 21st 2023):
To install (‘burn’) the “Raspberry Pi OS Lite (64-bit)” onto the micro SD card you can use
Configuration to use:
Hostname: lbserver
SSH active
Username: pi
Configure Ethernet and WLAN
[Balena Etcher] (https://etcher.balena.io/) which is avaialble for macOS, Linux and Windows
Be sure that your Raspberry Pi gets access to the internet and that
you can access it using ssh.
Plug the sd card in your Raspberry Pi and power it.
Give it some time to boot and then query your Router/DHCP server
about the IP-Adress assigned to device lbserver.
You may also be able to ask your name server for the ip and name:
nslookup lbserver (or someting like nslookup lbserver.fritz.box).
You should also setup your dhcp server to assign always the same ip address (use quasi-static ip).
Open a ssh session and logon:
ssh pi@lbserver.local
On first access you have to accept the ssh fingerprints. Try that internet access is working.
$ ping google.com
PING google.com(fra16s49-...net (2a00:...:200e)) 56 data bytes
64 bytes from fra07s64-...net (2a00:...:200e): icmp_seq=1 ttl=118 time=20.7 ms
...
sudo apt update
sudo apt upgrade
Follow the instuctions on JMRI.org
sudo apt install openjdk-11-jre
Download PiLocoBuffer software
curl --fail \
  --location https://sourceforge.net/projects/loconetovertcp/files/PiLocoBuffer/config/PiLocoBufferConfig_0.1.zip \
  --output PiLocoBufferConfig_0.1.zip
Install required packages and PiLocobuffer software
sudo apt install pkg-config avrdude libsystemd-dev
unzip PiLocoBufferConfig_0.1.zip
cd PiLocoBufferConfig_0.1

sudo make FIRMWARE_VER=2023-04-15 LBSERVER_VER=0.14 all

sudo reboot
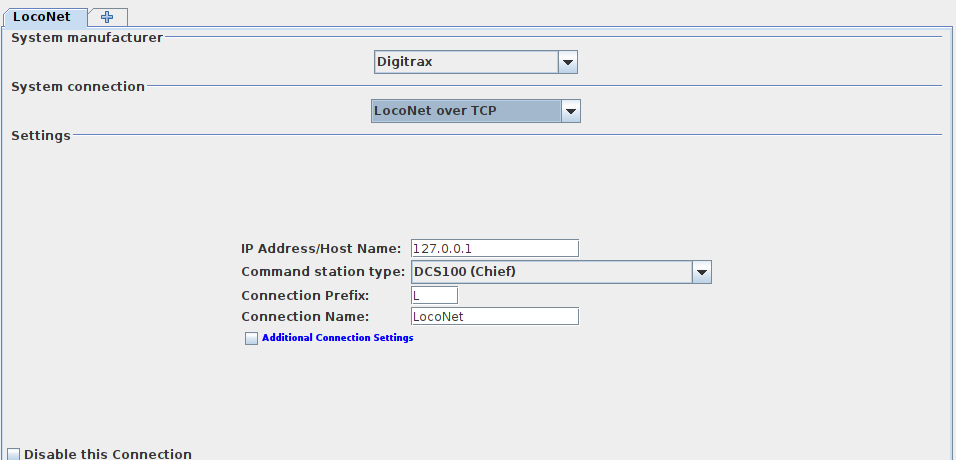
Create a new connection with following settings
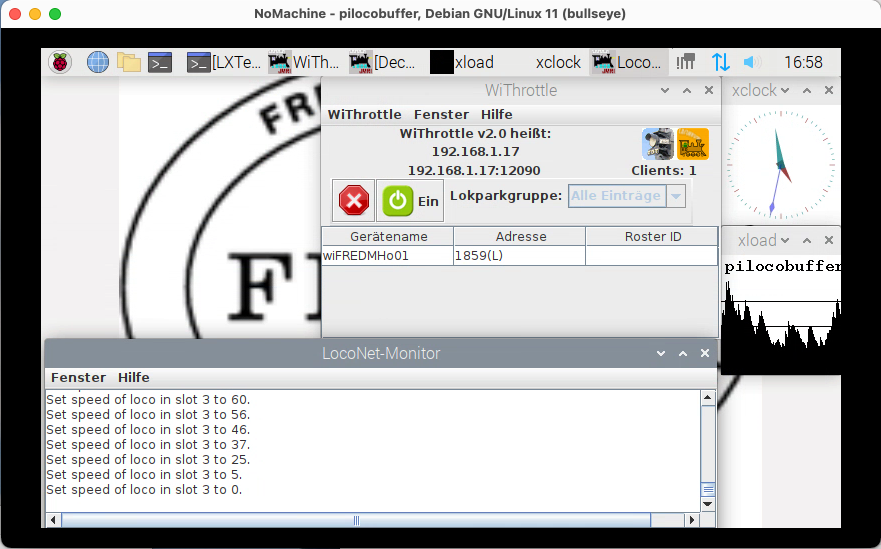
That’s all. Have fun.
The software installation described above works without changes on a Raspberry Pi 3. This has been tested on a “Raspberry Pi 3 Model B+”.
The Raspberry Pi 2 is no 64 bit system so you will need to install a 32 bit OS ( “Raspberry Pi OS Lite” ):
The rest works a decribed above. This has been tested on a “Raspberry Pi 2 Model B V1.1”.
The makefile allows to specify the versions to download and use. Example:
$ sudo make FIRMWARE_VER=2023-03-05 LBSERVER_VER=0.13 all
As of PiLocoBufferConfig version 0.1 the defaults are the values used in
the example above.
If you need a special version not available of the source forge file system. Place the zip in folder PiLocoBufferConfig_0.1. Then make will skip the download an use the existing files. Use variables above. Example:
When you have
run
$ sudo make LBSERVER_VER=trunk all